How to Remove a Turbocharger on a Duramax: LBZ, LMM & LML Step-by-Step
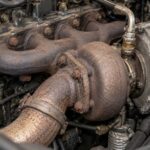
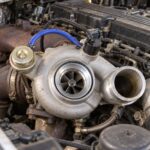
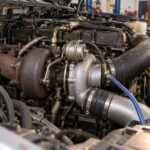
Knowing how to remove a turbocharger on a Duramax is one of the most valuable skills you can have when working on the 6.6L GM diesel, because the LBZ, LMM, and LML variants all use variable geometry turbos that eventually need service, a new vane position sensor or solenoid, or full replacement. The turbo sits in the valley at the rear of the engine, so access is tight, but if you follow the right sequence you can pull one without rounding off exhaust manifold bolts or snapping a downpipe stud.
At PT Turbo we have been rebuilding and supplying diesel turbochargers since 1978, more than 45 years, and the Duramax platform crosses our benches constantly. This guide walks through the removal procedure for each generation, the tools you need, and the parts worth having on hand before you start.
Duramax Turbo Applications by Generation
Before you turn a wrench, confirm which turbo you are working with. GM changed the Garrett unit several times, and while the removal steps are similar, the mounting details, vane control parts, and DPF plumbing differ significantly between the LBZ and the later emissions engines.
| Engine | Years | Turbo | Vane Control | Emissions Hardware |
|---|---|---|---|---|
| LLY | 2004.5–2005 | Garrett GT3788VA | Engine oil through a VGT solenoid, with a vane position sensor | EGR, catalyst |
| LBZ | 2006–2007 | Garrett GT3788VA | Engine oil through a VGT solenoid, with a vane position sensor | EGR, catalyst |
| LMM | 2007.5–2010 | Garrett GT3788VA | Engine oil through a VGT solenoid, with a vane position sensor | EGR, catalyst, DPF |
| LML | 2011–2016 | Garrett GT3788VA | Engine oil through a VGT solenoid, with a vane position sensor | EGR, catalyst, DPF, SCR/DEF |
If you want the full background on symptoms and part numbers, we have dedicated deep dives on the LBZ turbocharger, the LMM variable geometry turbo, and the LML GT3788VA. LLY owners should read the LLY replacement guide as well.
Tools and Parts to Have Ready
Do not start this job with an incomplete tray. Half the frustration on a Duramax turbo pull comes from stopping to hunt for the right socket while the truck sits blocking a bay.
- Metric sockets and wrenches: 8mm through 17mm, plus 11mm and 12mm deep sockets
- A 12 mm 12-point socket for the up-pipe bolts
- 3/8 and 1/2 drive ratchets, extensions, and a swivel/universal joint
- Torque wrench (in-lb and ft-lb ranges)
- Penetrating oil applied the night before
- New turbo gaskets, drain tube gaskets, and V-band or flange hardware
- Fresh coolant and oil feed line crush washers
If your diagnosis points to the vane position sensor or the VGT solenoid rather than a failed CHRA, that part can be changed without replacing the turbo. A sticking vane mechanism means the turbo has to come off for cleaning.
How to Remove a Turbocharger on a Duramax: Step-by-Step
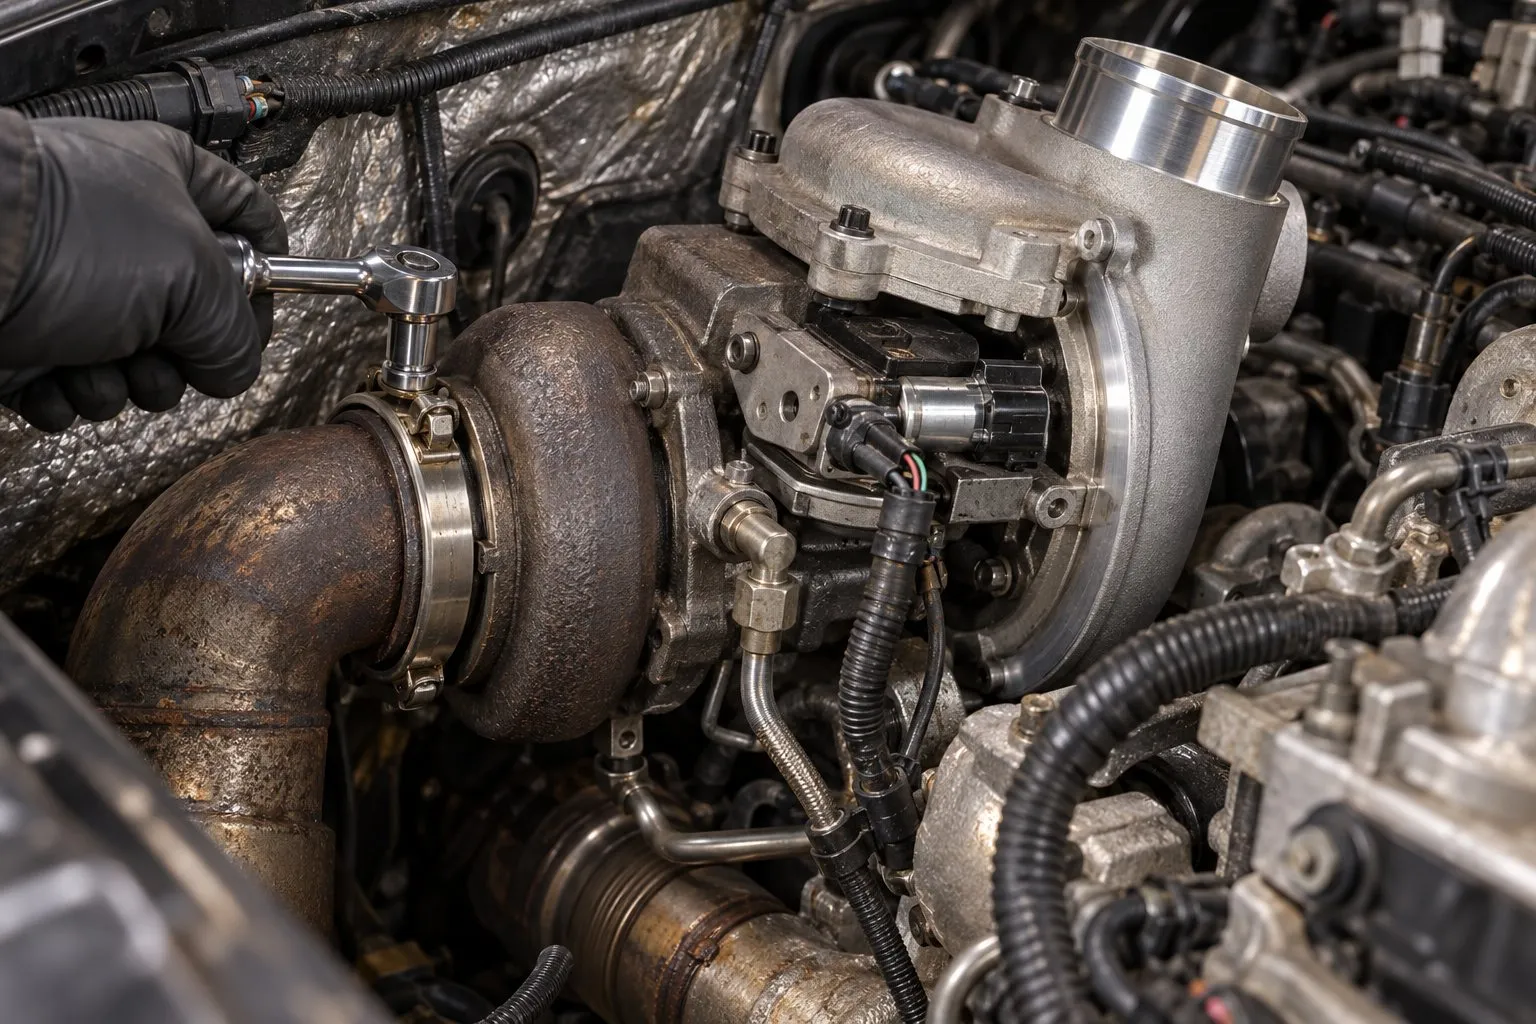
The following sequence covers the LBZ, LMM, and LML. Where the emissions-equipped LMM and LML differ, we call it out. Always let the engine cool completely and disconnect the batteries before starting.
Step 1: Clear the Top of the Engine
Remove the engine cover, the intake air duct, and the resonator assembly. On the LMM and LML you will also disconnect the intake air heater and the MAF sensor wiring. Cap open ports so nothing falls into the intake.
Step 2: Drain Coolant and Disconnect Lines
Drain enough coolant to safely remove the turbo coolant feed and return lines. Then disconnect the oil feed line at the top of the center housing and the oil drain tube at the block. Have rags ready, residual oil will run out.
Step 3: Remove the EGR and Up-Pipe Connections
The Duramax routes both cylinder banks into the turbo through crossover up-pipes. Loosen the up-pipe flange bolts at the turbine inlet. This is where penetrating oil pays off, these fasteners live in extreme heat and corrode. Disconnect the EGR crossover if equipped. If you want the technical background on the system, the EGR overview is a useful reference.
Step 4: Disconnect the Downpipe
On the LBZ, the downpipe is held to the turbine outlet by a V-band clamp. On the LMM and LML, the downpipe leads into the exhaust aftertreatment (on the LML the oxidation catalyst comes first and the DPF last), so you will separate the V-band or bolted flange at the turbine housing. For details on how that filter affects the exhaust side, see the diesel particulate filter reference.
Step 5: Disconnect the Vane Control Wiring
All three engines have two connectors on the turbo: one on the vane position sensor and one on the VGT solenoid, which meters the engine oil that moves the vanes. Do not yank the harness, release each lock tab first. If you are replacing either part, it is easiest with the variable geometry turbo on the bench.
Step 6: Remove the Turbo Mounting Hardware
Support the turbo, then remove the pedestal or bracket bolts and the up-pipe hardware. Work the turbo free by lifting and rotating it slightly to clear the up-pipes and coolant lines. It is heavy and awkward, keep both hands on it.
Step 7: Inspect Before Reinstalling
With the turbo out, check the up-pipe flanges for warping, inspect the drain tube for coking, and spin the shaft to feel for bearing play. Replace all gaskets. Never reuse a compressed exhaust gasket, it will leak.
New, Remanufactured, or Sensor and Solenoid Only: Choosing Your Repair
Once the unit is on your bench, you have three realistic paths. The right one depends on whether the failure is a control part, the vane mechanism, or the CHRA bearings.
| Repair Path | Best For | Relative Cost | Downtime |
|---|---|---|---|
| Vane position sensor or VGT solenoid | Codes for vane position, shaft play within the maker’s limits | $ | Same day |
| Remanufactured turbo | Bearing wear, shaft play, oil in intake | $$ | 1–2 days |
| New OEM turbo | Total failure, warranty priority | $$$ | Availability dependent |
If the shaft is tight, the vanes move freely and the housing is clean, a sensor or solenoid is the smart money.
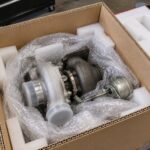
When the bearings are worn or you find oil in the charge piping, replacement is the answer. Our remanufactured turbochargers are built to OEM tolerances and calibrated on-bench. If you would rather keep your original housings, our turbocharger rebuild service restores your unit with new bearings, seals, and a balanced core. You can also browse all turbos to match your exact part number.
Reinstallation and Torque Notes
Reassembly is the reverse of removal, but the details matter. Prime the oil feed line with clean engine oil before connecting it so the bearings are not starved on first start. Dry-start damage is one of the most common ways a fresh turbo gets killed.
Torque the up-pipe bolts and pedestal bolts to GM specification and use anti-seize on the exhaust-side fasteners.
Work the up-pipe bolts down in stages rather than pulling each one tight in a single pass, since cinching one corner first can cock the flange and open a leak path on the other side. Reconnect the coolant and oil lines with fresh crush washers, then refill the system and purge air before you crank.
Once everything is buttoned up, reconnect both vane control connectors and run the vane position learn with a scan tool. Start the engine and idle it with no load so oil reaches the bearings and you can watch for weeping at the feed line and up-pipe flanges while the metal is still cool. Bring it up to temperature, shut it down, and check your fasteners a second time after that first heat cycle, because exhaust-side hardware settles as it expands and contracts.
Turbos we list for the GT3788VA
Listings for the turbo models named in this guide that can be ordered online today. Several part numbers can fit one engine by year and rating, so match the number on your turbo’s tag, or call (909) 824-1020 and we will match it for you.
Frequently Asked Questions
Which Duramax engines have variable geometry turbos?
Every 6.6L Duramax since the 2004.5 LLY uses a variable geometry turbocharger: the LLY, LBZ, LMM and LML use the Garrett GT3788VA, and the 2017 and later L5P has its own VGT with an electronic actuator. Only the 2001-2004 LB7 has a fixed-geometry turbo. The GT3788VA units eventually require service, a new vane position sensor or solenoid, or a full turbo swap.
How difficult is it to remove a Duramax turbocharger?
The turbo sits in the valley at the rear of the engine and access is tight, but removal is manageable for an experienced DIY mechanic. With the right tools and a step-by-step process, the job can be done at home.
Why would you need to remove a Duramax turbo?
Common reasons include servicing the turbo, replacing a failing vane position sensor or solenoid, or performing a complete turbocharger replacement. Addressing these issues restores proper boost and engine performance.
Need a Turbocharger?
PT Turbo has rebuilt and sold turbochargers since 1978. We stock remanufactured units for Cummins, Duramax, Power Stroke, Detroit Diesel, and more — backed by a 12-month unlimited mileage warranty. Units in stock at our shop in San Bernardino, CA ship the same day when ordered before 2 PM Pacific, Monday through Friday.
📞 (909) 824-1020 · 346 S I St. #3, San Bernardino, CA 92410 · [email protected]