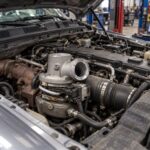
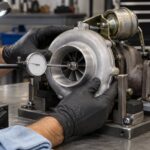
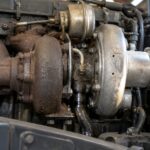
How to Replace a VGT Actuator: Step-by-Step Guide for Diesel Mechanics
Knowing How to Replace a VGT Actuator is one of the most valuable skills a diesel mechanic can have, because a failed actuator will drop a truck into limp mode, kill fuel economy, and throw codes that mimic a dozen other problems. The good news is that on most engines the actuator is a bolt-on component, not a full turbo teardown. Get the procedure right and you can have the truck back on the road in an afternoon.
At PT Turbo we have been rebuilding turbochargers and supplying actuators since 1978, more than 45 years of hands-on experience with every major platform. This guide walks you through the full replacement process, the tools you need, calibration steps, and how to pick the right part.
What the VGT Actuator Does and Why It Fails
The variable geometry turbocharger (VGT) actuator controls the position of the vanes or nozzle ring inside the turbine housing. By opening and closing those vanes, the ECM changes exhaust gas velocity to build boost quickly at low RPM and prevent overspeed at high RPM. If you want the deeper theory, the Wikipedia entry on variable-geometry turbochargers covers the fundamentals well.
Actuators come in three types: pneumatic (vacuum or pressure driven), electronic (motor and gear driven with a position sensor), and oil-operated, where a solenoid meters engine oil to a piston (Ford 6.0, 6.4 and 2011-2019 6.7 Power Stroke, Duramax LLY through LML). Pneumatic units fail when the diaphragm cracks or the linkage seizes. Electronic units fail from soot contamination, heat-baked gears, and worn position sensors.
Common failure symptoms include:
- Limp mode with reduced power
- Excessive black smoke or turbo lag
- Whistling or overboost complaints
- Codes like P003A, P2563 or P0046
- Sticking vanes from carbon buildup, especially on EGR-equipped engines
If you are chasing a stored code before you swap parts, our P003A VGT actuator diagnosis guide for Cummins and Duramax will help you confirm whether the actuator or the turbo itself is the real culprit.
Tools and Parts You Need Before You Start
Do not start the job until you have everything staged. Half the time lost on actuator swaps comes from hunting for a torx bit or the right calibration cable.
- Metric socket set (8mm through 15mm) and Torx bits (T25 through T40)
- Torque wrench, inch-pound and foot-pound
- Anti-seize and high-temp thread locker
- Penetrating oil for corroded fasteners
- A scan tool capable of VGT calibration or forced regen
- The correct replacement actuator for your turbo model
Matching the part number is critical. A VGT actuator is calibrated to a specific turbine housing and vane geometry, so a close visual match is not good enough.
Not sure which fits your turbo? Contact PT Turbo with your turbo part number and we will match it exactly.
How to Replace a VGT Actuator Step by Step
The procedure below applies to most bolt-on pneumatic and electronic actuators. Always let the engine cool completely. Exhaust components stay hot for hours and turbine housings hold heat longer than anything else on the engine.
Step 1: Disconnect the Battery and Relieve Pressure
Pull the negative battery terminal to prevent codes and protect the ECM. On electronic actuators, disconnecting power is mandatory before you unplug the harness. On pneumatic units, disconnect the vacuum or pressure line and cap it to keep debris out.
Step 2: Mark the Linkage Position
Before removing anything, note the resting position of the linkage arm. On pneumatic actuators the rod length is often adjustable, and getting it wrong changes vane travel. Take a photo and count the threads on any adjustment nut.
Step 3: Remove the Mounting Hardware
Most actuators use two to four bolts, either to a bracket or directly to the bearing housing. Soak corroded fasteners with penetrating oil. Back the bolts out slowly, because snapping one off means drilling and re-tapping, which turns a one-hour job into a full day.
Step 4: Separate the Linkage
Pneumatic actuators connect to the vane control arm with a C-clip or ball socket. Pop the clip carefully and do not bend the arm. A bent vane arm binds the mechanism and will fail the new actuator prematurely.
Step 5: Test the Vane Mechanism
With the actuator off, move the vane lever through its full range by hand. It should sweep smoothly with light, even resistance. If it feels notchy, sticky, or stuck, the actuator was not the root cause. That turbo needs a full clean or rebuild, and our turbocharger rebuild service can restore the vane pack to spec.
Step 6: Install the New Actuator
On Holset actuators, reconnect the battery, plug the new actuator in and run the tool’s installation step before mounting it, so its gear sits in the install position. Then set the new unit in place, reconnect the linkage, and thread the mounting bolts by hand first. Apply anti-seize to bolt threads and torque to the manufacturer spec, which is low on these small screws: BD Diesel’s instructions for the Holset HE300-series actuator give 80 in-lb (9 N·m). Reconnect the vacuum line or electrical harness.
Step 7: Set Rod Length and Preload
On adjustable pneumatic actuators, set the rod length to match your marks from Step 2. With no vacuum applied the spring should hold the vanes fully open, and the rod should pull them fully closed as vacuum is applied, with no slack at either stop. Getting this wrong is the most common cause of a repeat failure.
Calibration and Post-Install Testing
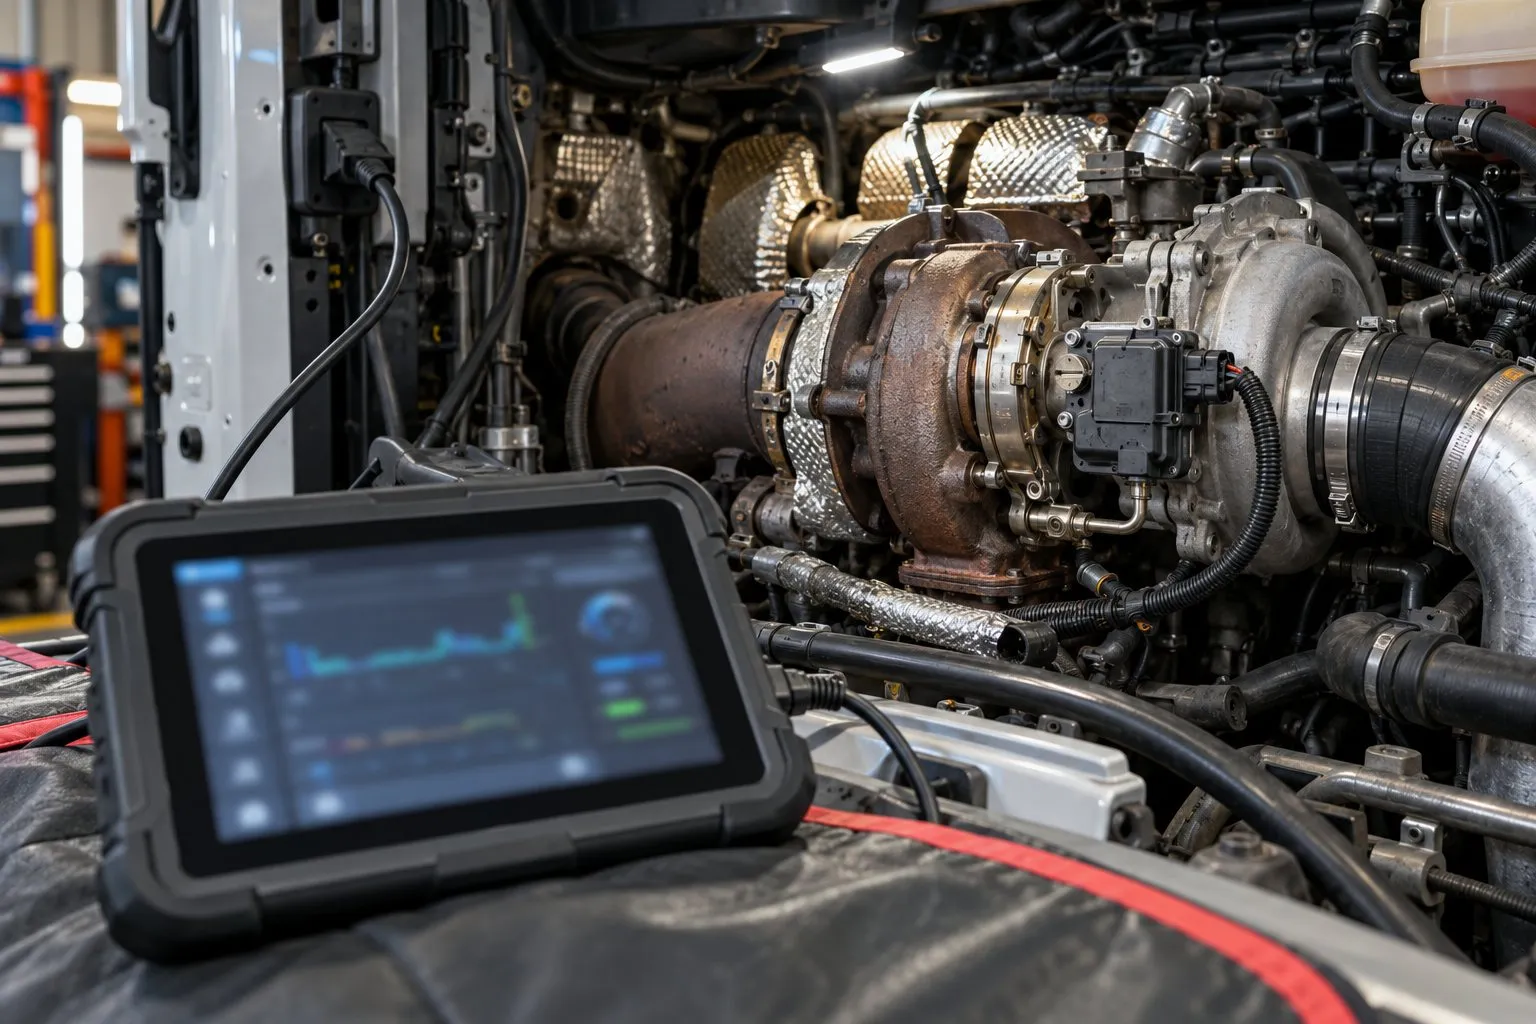
An electronic VGT actuator is not plug and play. After installation, most electronic actuators need a calibration or learn procedure with a scan tool so the ECM knows the new actuator’s zero and full-travel positions. Garrett VNT turbos, pneumatic and REA alike, are set on a flow bench, and Garrett does not support fitting an actuator in the field: check which kind you have before you start. Skip the calibration and you can expect position error codes.
For pneumatic units, verify actuation with a hand vacuum pump or the truck’s own system. Apply vacuum and watch the rod stroke fully and return without hesitation. A sluggish return points to a weak diaphragm spring or a binding vane pack.
Once installed and calibrated:
- Clear all stored codes
- Start the engine and let it reach operating temperature
- Watch commanded versus actual VGT position on your scan tool
- Road test under load and confirm boost builds without lag or overboost
- Recheck for codes after a full drive cycle
Garrett calibrates each electronic actuator to its own turbo and does not publish settings for field use, but you can cross-reference part numbers at Garrett Motion.
New Actuator vs Remanufactured or Complete Turbo
Sometimes replacing just the actuator is the wrong call. If the vane pack is worn or the turbo has bearing play, a new actuator buys you weeks, not years. Here is how to decide.
| Situation | Best Choice | Why |
|---|---|---|
| Actuator failed, vanes move freely | New actuator only | Fastest and cheapest fix, see actuator prices |
| Sticky vanes, otherwise good turbo | Rebuild service | Cleans vane pack and installs new actuator |
| Bearing play or shaft wear | Remanufactured turbo | Full core restored to OEM spec with warranty |
| Multiple failures, high mileage | New or reman complete unit | Most reliable long-term outcome |
If you decide the whole turbo needs to go, our remanufactured turbochargers are rebuilt to OEM tolerances and cost far less than a dealer unit.
Frequently Asked Questions
What are the symptoms of a failed VGT actuator?
A failing VGT actuator often drops the truck into limp mode, reduces fuel economy, and triggers trouble codes that can mimic many other engine problems.
Do I have to remove the turbo to replace a VGT actuator?
On most engines the VGT actuator is a bolt-on component, so you can replace it without a full turbo teardown.
Does a new VGT actuator need to be calibrated after installation?
Yes, most electronic VGT actuators require calibration or learning with a diagnostic scan tool after installation to sync with the vane position.
Need a Turbocharger?
PT Turbo has rebuilt and sold turbochargers since 1978. We stock remanufactured units for Cummins, Duramax, Power Stroke, Detroit Diesel, and more — backed by a 12-month unlimited mileage warranty. Units in stock at our shop in San Bernardino, CA ship the same day when ordered before 2 PM Pacific, Monday through Friday.
📞 (909) 824-1020 · 346 S I St. #3, San Bernardino, CA 92410 · [email protected]
More From PT Turbo
 How to Calibrate a VGT Actuator After Replacement: Cummins, Duramax & Detroit
- How to Inspect a Used or Remanufactured Turbocharger Before Installing It
- Turbocharger Oil Lines Explained: Feed Line, Return Line, and Why They Fail
- How to Match a Turbocharger Replacement Using Cast Numbers When the Part Number Is Gone