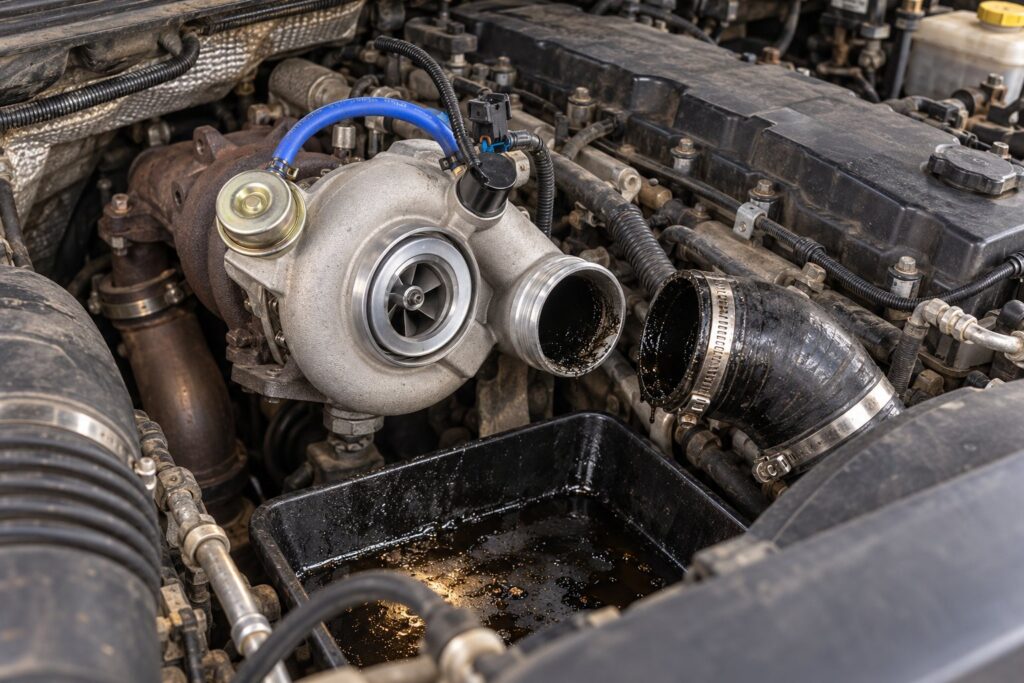
Knowing How to Flush an Intercooler After Turbocharger Failure is the difference between a clean rebuild that lasts 300,000 miles and a repeat failure that eats your brand-new turbo within a few thousand miles. When a turbo lets go, it rarely fails quietly. Oil, metal shavings, and sometimes chunks of compressor wheel get blown downstream straight into your charge-air system, and the intercooler becomes a reservoir for all of it.
At PT Turbo, we have spent 45+ years rebuilding turbochargers and watching good units die early because the intercooler was never properly cleaned. This guide walks you through the entire process the right way, so you do not throw a fresh turbo at a dirty system.
Why a Contaminated Intercooler Kills a New Turbo
When a turbocharger fails, the compressor side pressurizes everything downstream, including the charge pipes and the intercooler core. Oil pushed past worn seals pools in the lower tanks and tubes of the cooler. Hard debris, aluminum from the compressor wheel, or carbon can lodge in the fins and bends.
Install a new turbo without flushing and that oil gets drawn back through the intake on the next start. A slug of trapped oil can hydro-lock a cylinder. Loose metal can nick the new compressor wheel at 100,000+ RPM, unbalancing it and starting the failure cycle all over again.
The intercooler and turbo are a single system, not two separate parts. We break that relationship down in our guide on intercooler and turbocharger performance, but the short version is simple: dirty charge air equals a short-lived turbo.
Signs Your Intercooler Is Contaminated
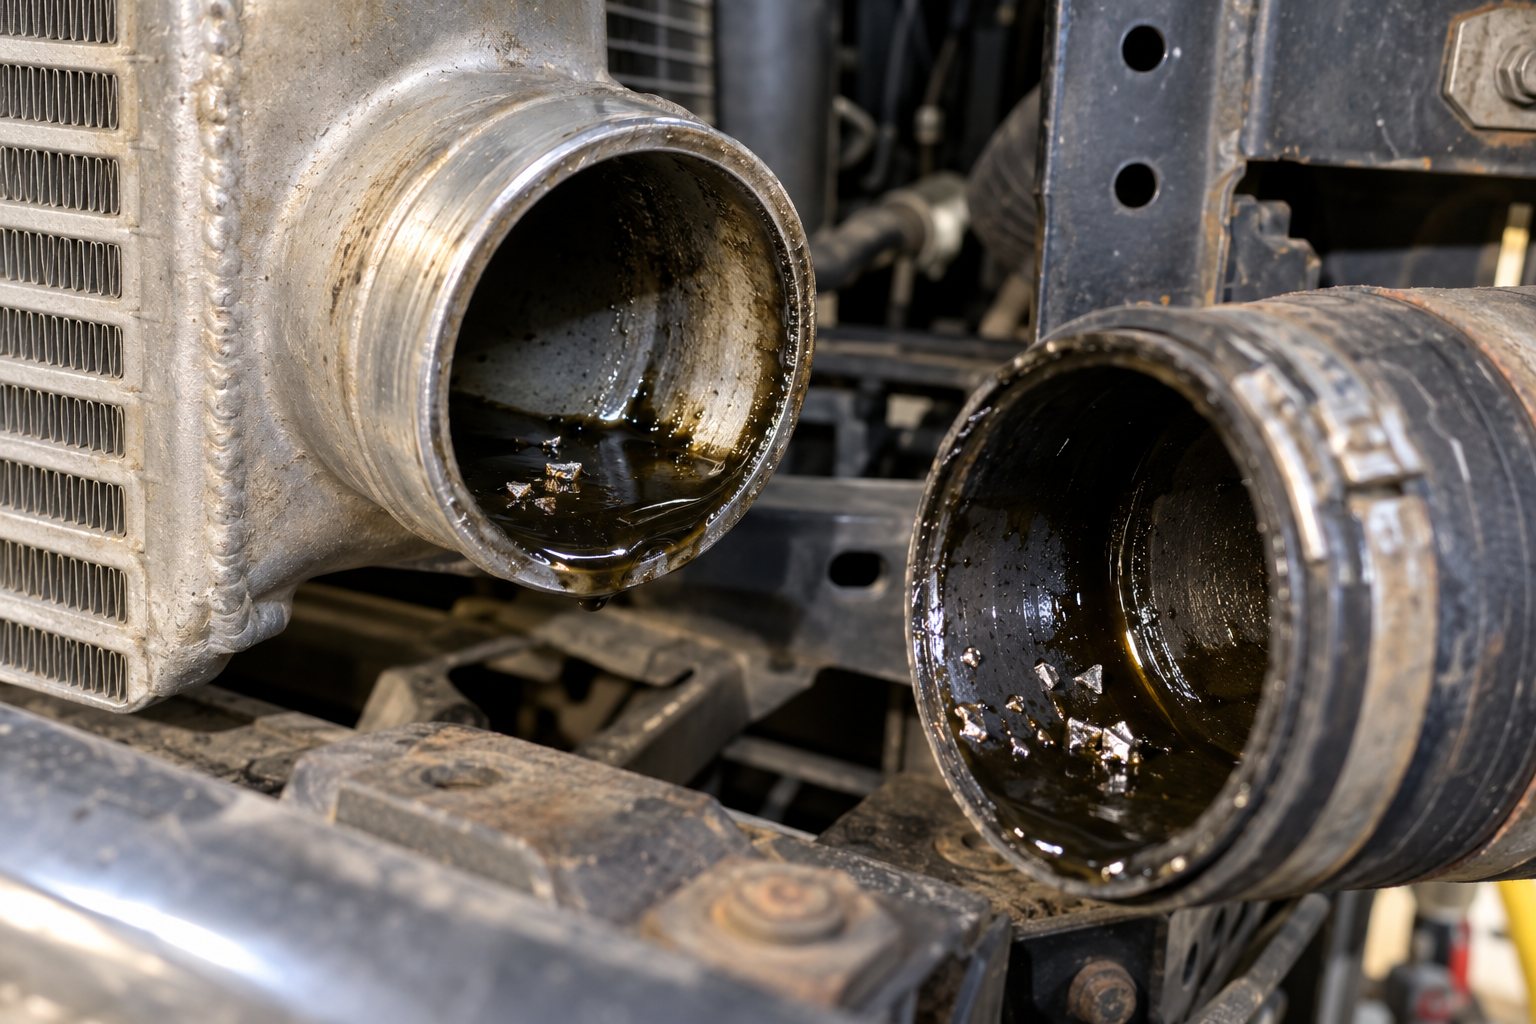
Not every failure dumps the same amount of debris into the cooler. Pulling the lower charge pipe and inspecting with a flashlight tells you most of what you need to know. Use the severity table below to decide your cleaning approach.
| Severity | What You See | Recommended Action |
|---|---|---|
| Light | Thin oil film, no debris, coats a finger | Solvent flush and full dry |
| Moderate | Pooled oil in lower tank, oily charge pipes | Multiple solvent flushes, verify clean drain |
| Severe | Metal shavings, aluminum flakes, carbon chunks | Remove core, flush repeatedly, or replace cooler |
If you find metal, assume some of it is already in the charge pipes and the intake manifold too. A catastrophic compressor wheel failure almost always means you clean the entire charge-air path, not just the cooler. Many shops underestimate this and pay for it later. For a deeper look at the damage pattern, read our breakdown of intercooler failure symptoms.
How to Flush an Intercooler After Turbocharger Failure: Step by Step
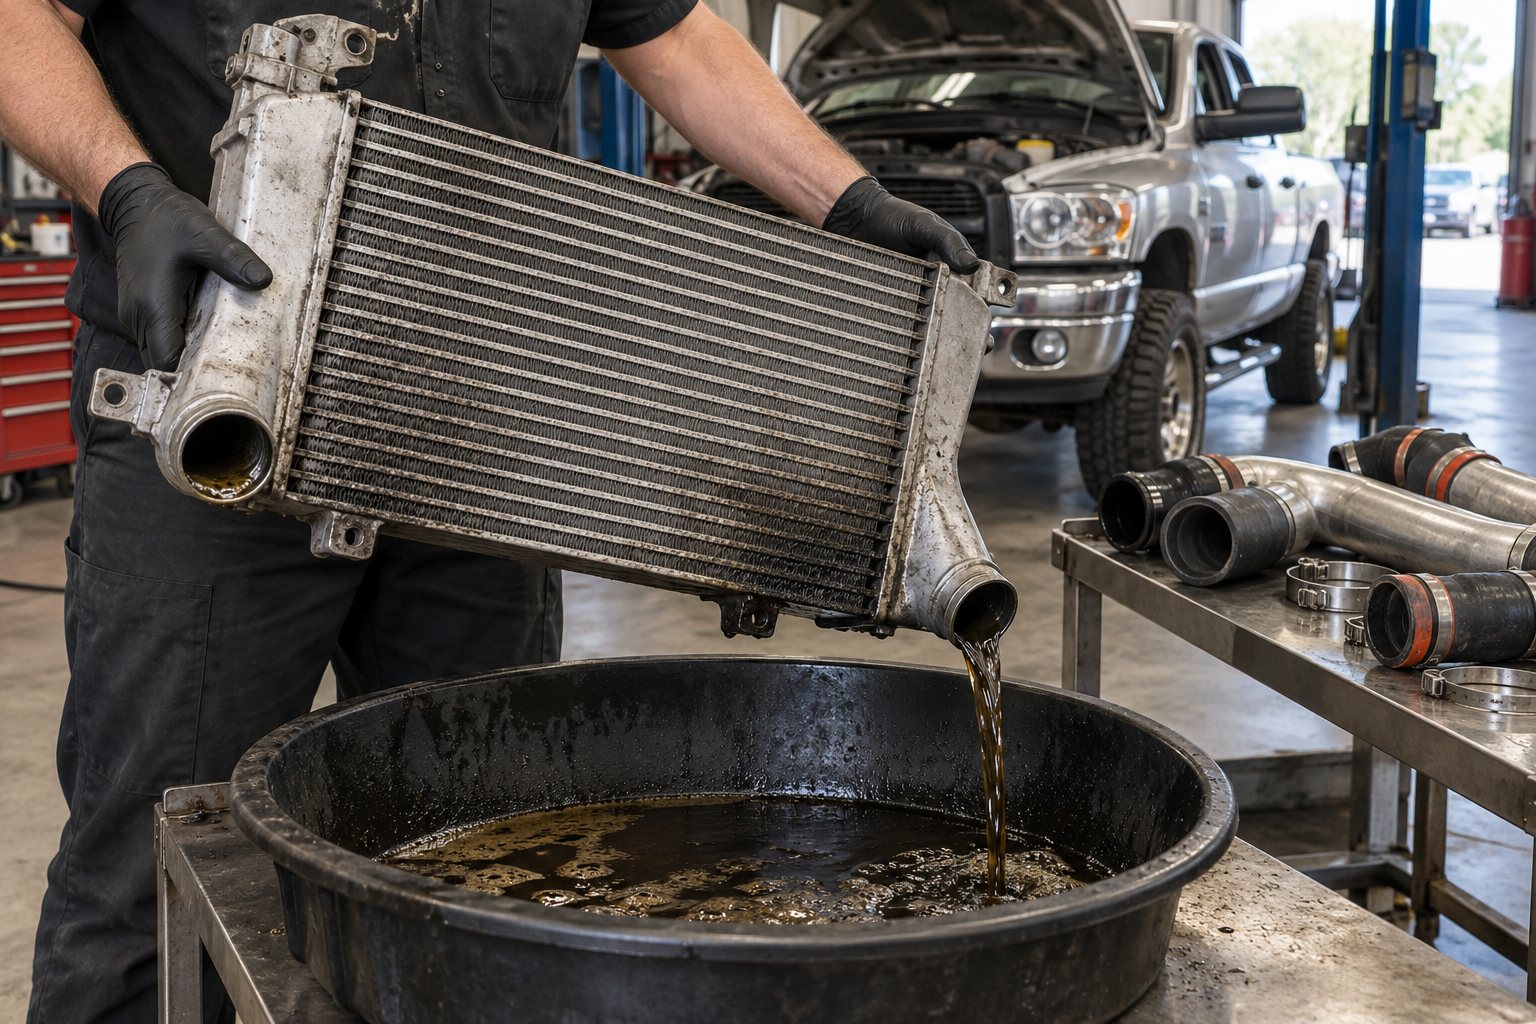
This is the core procedure. Work in a ventilated area, wear nitrile gloves and eye protection, and keep solvent away from ignition sources. Set aside two to three hours if you want it done right, longer if the core needs to dry overnight.
1. Remove the Intercooler Completely
You cannot flush a cooler properly while it is still bolted in. Disconnect both charge pipes, remove the mounting hardware, and pull the unit out. Inspect and clean the charge pipes and boots separately while the cooler is out.
2. Drain the Existing Oil
Position the cooler so the lower tank and outlet point down, and let it drain into a catch pan. Rock it gently to move pooled oil toward the outlet. On a severe failure you may be surprised how much oil comes out, sometimes a cup or more.
3. Flush With Solvent
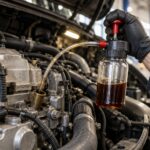
Pour an aggressive degreaser or dedicated intercooler flush solvent into the inlet. Cap both ports, shake the unit firmly for 30 to 60 seconds, then drain. Mineral spirits or a purpose-made aluminum-safe solvent both work. Avoid anything caustic that can attack the aluminum core.
Repeat this flush until the fluid draining out runs clean and clear. On a moderate contamination, that is usually three to five cycles. Do not rush it. The flush is only finished when there is no color, no film, and no grit in the drain.
4. Rinse and Neutralize
Follow the solvent with a hot water rinse if your solvent is water-compatible, or a final rinse of fresh clean solvent. This carries out any suspended particles the degreaser loosened but did not fully drain.
5. Dry Completely
This step gets skipped and it causes problems. Any residual solvent or water left in the core will get drawn into the engine on startup. Blow the cooler out with compressed air from both directions, then let it air dry for several hours or overnight. Low-pressure shop air, around 30 PSI, prevents fin damage.
6. Final Inspection
Shine a light through the core and tilt the cooler. Look for any remaining debris or oil weeping from the tubes. Shake it one last time over a clean rag. If anything comes out, flush again.
When to Replace the Intercooler Instead of Flushing
Flushing works for oil and loose debris, but some damage cannot be washed away. If the core is physically compromised, cleaning is a waste of labor.
- Bent or crushed fins restricting airflow that no flush will restore
- Internal fin separation from a backfire or pressure spike, which leaves debris traps
- Pinhole leaks or cracked end tanks that drop boost pressure
- Embedded metal you cannot dislodge after repeated flushing
A boost leak test after cleaning confirms the core still holds pressure. Pressurize the cooler to roughly 25 to 30 PSI with the ports capped and listen for leaks or watch for pressure decay. A cooler that will not hold pressure needs to be replaced before the new turbo goes on.
Do Not Forget the Oil System and Actuator
The intercooler is only half of post-failure cleanup. The turbo oil feed and drain lines carry the same debris back into a new unit from the lubrication side. We cover that full procedure in how to flush the turbo oil system after a turbocharger failure. Do both flushes together, every time.
If your failed turbo used a wastegate or variable-geometry setup, inspect the actuator while you are in there. A seized or out-of-spec actuator can overspeed a brand-new turbo and cause the exact failure you just cleaned up after. These are wear items and worth replacing during a rebuild.
PT Turbo stocks both new and remanufactured actuators for most common platforms. For Garrett applications, the Garrett Pneumatic Actuator 757979-5102 is available for $240.94, and the heavier-duty Garrett Pneumatic Actuator 445963-0040 runs $465.52.
On Mitsubishi TD03 and similar units, the Mitsubishi TD03 Pneumatic Actuator 49S3118761 is $104.33, and the Mitsubishi Pneumatic Actuator 4918918935 is one of our best values at $83.99. If your replacement turbo uses an electronic VGT actuator instead, follow our guide on how to calibrate a VGT actuator after replacement before you drive.
New vs Remanufactured: Choosing the Replacement Turbo
Once the system is clean, you need a turbo you can trust. Both new and quality remanufactured units are solid choices when the core work is done properly. The difference comes down to budget and availability.
| Factor | New OEM Turbo | Remanufactured Turbo |
|---|---|---|
| Price | Highest | Typically 30 to 50% less |
| Availability | Can have long lead times | Often in stock |
| Balancing | Factory spec | VSR balanced to OEM spec |
| Warranty | Manufacturer-backed | Shop-backed, varies by rebuilder |
A properly balanced remanufactured turbocharger from an experienced rebuilder performs identically to new for a fraction of the cost. If you want to keep your original housing and core, our turbocharger rebuild service restores it to OEM spec with new bearings, seals, and a balanced CHRA. You can also browse our full turbo catalog to match your application.
Authoritative manufacturer resources like Garrett Motion and BorgWarner publish spec data worth cross-checking against your part numbers.
Whichever route you choose, match the replacement to your exact application and verify the part number against your old unit before it goes on. A turbo that is close but not correct will fight your airflow numbers and shorten its own life. The clean system you just built deserves the right turbo bolted to it.
Do the intercooler flush, the oil system flush, and the actuator check together as one job. Skip any one of them and you are gambling with a part you just paid for. Done right, the whole system goes back to work as a unit and stays there.
Frequently Asked Questions
Why do I need to flush my intercooler after a turbo failure?
When a turbo fails, it blows oil, metal shavings, and debris into the charge-air system. Flushing the intercooler removes this contamination to prevent it from damaging your new turbocharger.
What can I use to flush an intercooler?
A degreaser or dedicated solvent like brake cleaner or a mild parts cleaner works well, followed by hot soapy water. Always rinse thoroughly and dry completely before reinstalling.
Can I reuse the intercooler or should I replace it?
Most intercoolers can be thoroughly cleaned and reused if flushing removes all oil and debris. If metal shavings are trapped and can’t be fully cleared, replacement is the safer option.
Cross-Reference & Superseded Part Numbers
The turbochargers covered in this article match or supersede the following OEM and manufacturer part numbers. If you are searching by part number, these are the units stocked by PT Turbo for this application:
479514-RMN • 49180-04052-RMN • 49477-04000 • 49477-04000-1 • 53047109901-BILLET • 857564-6001 • 870702-6001 • 880736-6001 • 888883-6001 • 888883-6002 • 891185-6001 • 893516-6001 • HE351CW • NEW-FTR-TWN-TRB • PTT-FIE-004 • PTT-HGC-069 • PTT-MS3-002 • PTT-MS3-012 • PTT-MUS-001 • PTT-MUS-005 • PTT-MUS-010 • PTT-MUS-011 • PTT-VEVO-026 • PTT-VVW-214 • PTT-VVW-270 • T04-TRB-CRB-SL • T3-TRB-CMP-HSN • VA-420081 AS12 • VF39-BILLET • stock+location+fsi/tsi+option+3
Can’t find your number above? Contact PT Turbo — our team has been matching part numbers since 1978.
Need a Turbocharger?
PT Turbo has rebuilt and sold turbochargers since 1978. We stock remanufactured units for Cummins, Duramax, Power Stroke, Detroit Diesel, and more — backed by a 12-month unlimited mileage warranty and same-week shipping from San Bernardino, CA.
📞 (909) 824-1020 · 346 S I St. #3, San Bernardino, CA 92410 · [email protected]